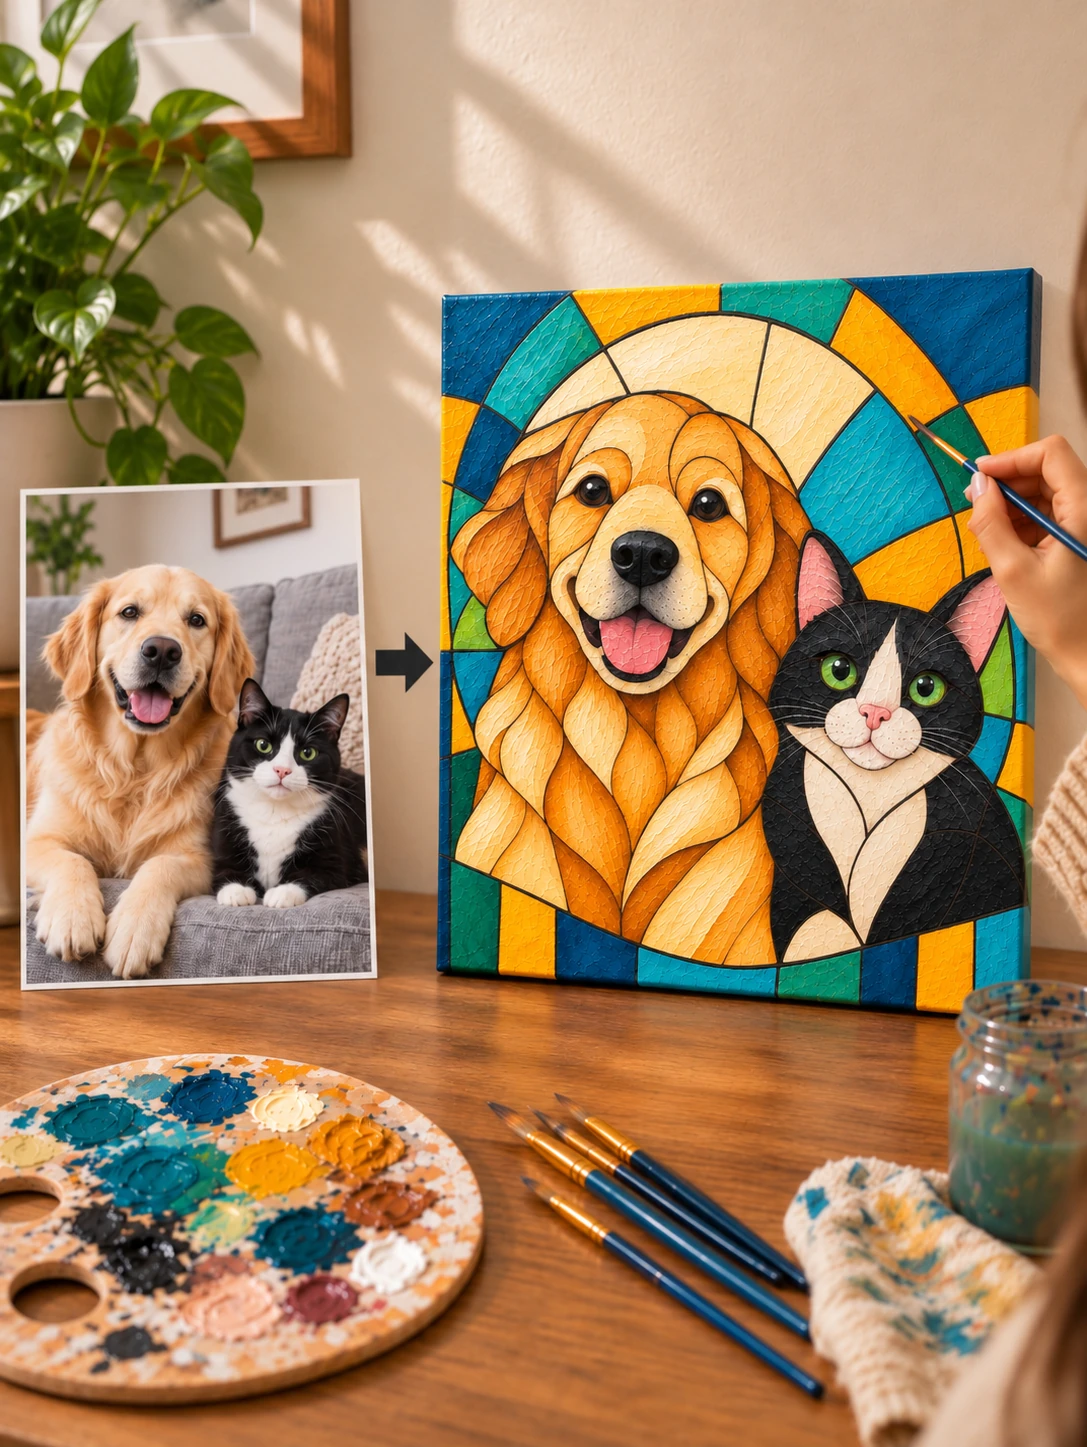
Imagine...
→ You’re carrying a wrapped canvas into your mum’s kitchen. She peels the paper back, sees her old dog rendered in glowing amber glass, and goes completely silent. Then she starts crying. You painted that. With your own hands. At your own kitchen table.
→ A friend spots the portrait above your sofa and asks which gallery you bought it from. You get to say, almost casually, “I made it.” And then watch their face change as they realise you’re not joking.
→ It’s a wet Sunday. Phone face down, radio on low, one small pane of colour at a time. Two hours vanish. You look up and realise that for the first time in months your head has been completely quiet, and there’s something beautiful on the easel that didn’t exist this morning.
Have you ever seen something like this and thought:
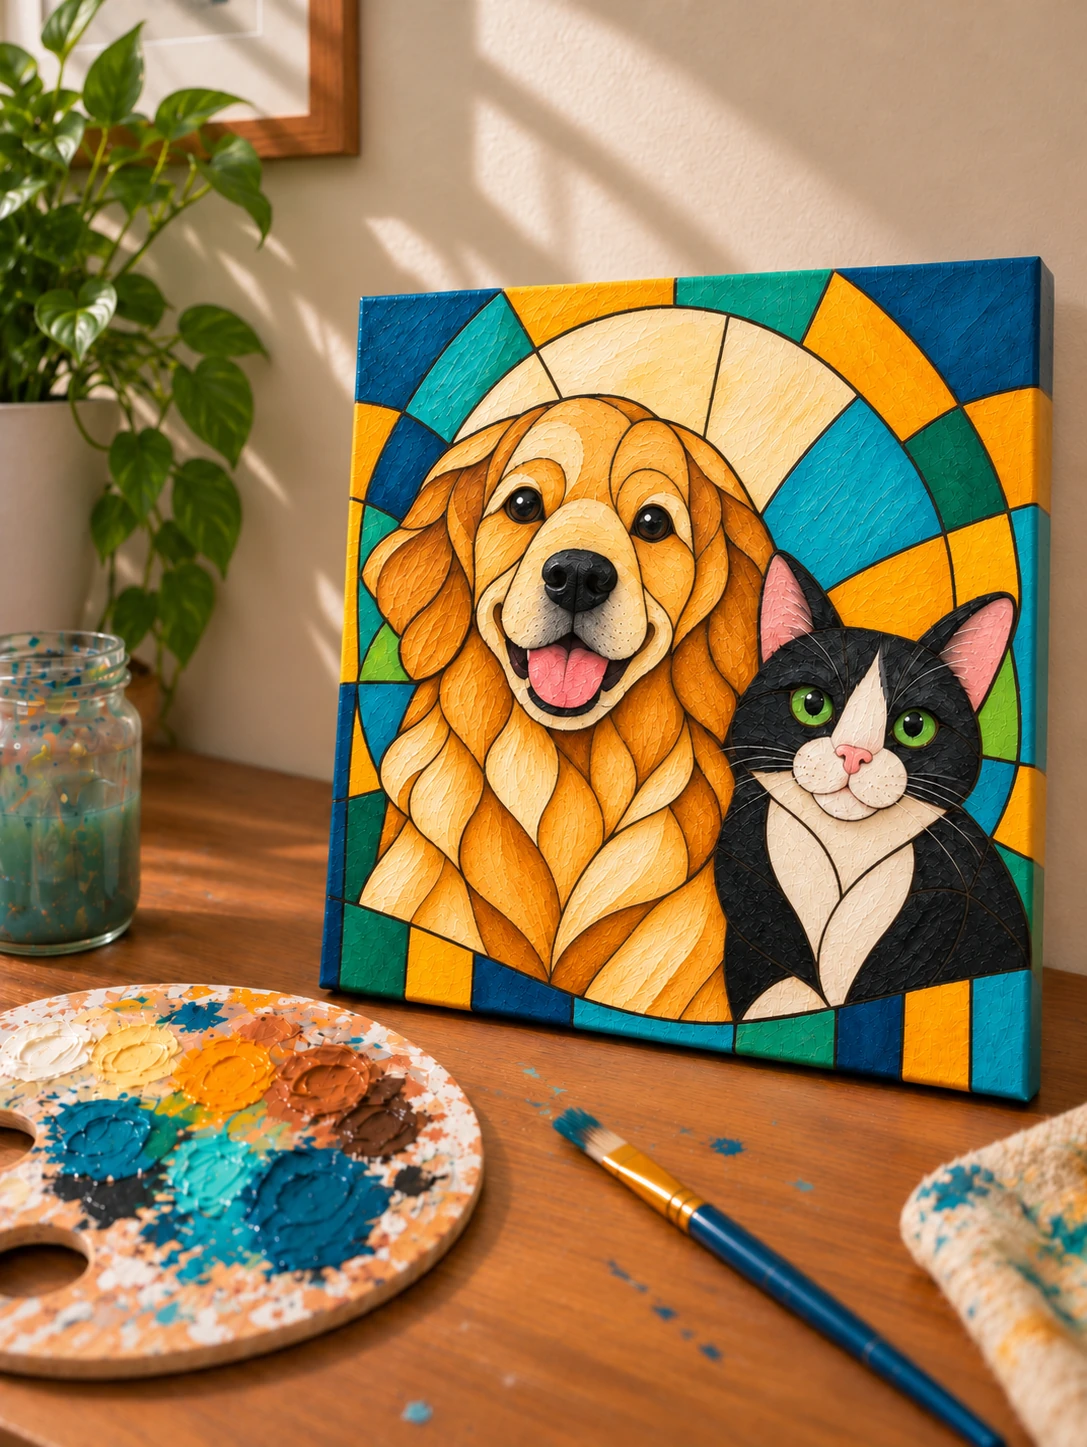
“Oh, I would LOVE to be able to make that.”
So you look it up. Maybe you even buy a canvas and a cheap set of acrylics, because how hard can it be? It’s just shapes and colours. You’ve got the photo of your dog right there on your phone.
Then you sit down with a blank canvas and realise you have absolutely no idea where the first line goes.
So you do what everyone does. You go to YouTube. You find a dozen videos of someone painting a stained glass portrait, beautifully, at four times speed, with no explanation of why they put that line there and not two inches to the left. You watch someone’s confident hand glide across a canvas and you copy it, and somehow yours comes out looking like a muddy jigsaw.
You try again. You try a different video. This one uses different paints, a different method, contradicts the last one. You still don’t know how to look at your own photo and decide what becomes a pane and what gets thrown away. You’re collecting techniques without ever getting a process.
Three weekends later there’s a half finished canvas face down behind the wardrobe, forty quid of paint going hard in the tubes, and a quiet little thought you’ve started to believe:
“Maybe I just don’t have the talent for this.”
But what if that’s completely WRONG?
It’s not that you lack talent.
It’s not that you need another six months of practice.
It’s that you’ve been starting at the wrong end. You’ve been trying to paint the finished picture, when every artist who makes this look effortless is doing something else entirely first: they’re turning the photo into a simple map of shapes, and only then picking up colour.
That’s the whole secret. Stained glass style isn’t a painting skill. It’s a seeing skill, followed by a very forgiving painting skill.
Because here’s the thing nobody tells you: this style is built out of flat shapes with hard black lines around them. There is no blending. There is no delicate brushwork. There are no soft edges to ruin. Every pane is one colour, laid down flat, and the black leading at the end hides a multitude of wobbles.
It is genuinely one of the most beginner friendly styles in existence. It just looks hard.
All you need is a photo of your animal, a canvas, and someone to show you the order to do things in. And here I am. I’ll show you step by step.
Introducing...
The Stained Glass Pet Portrait Studio
Paint a glowing, gallery worthy portrait of your own animal, from any photo on your phone, start to finish.
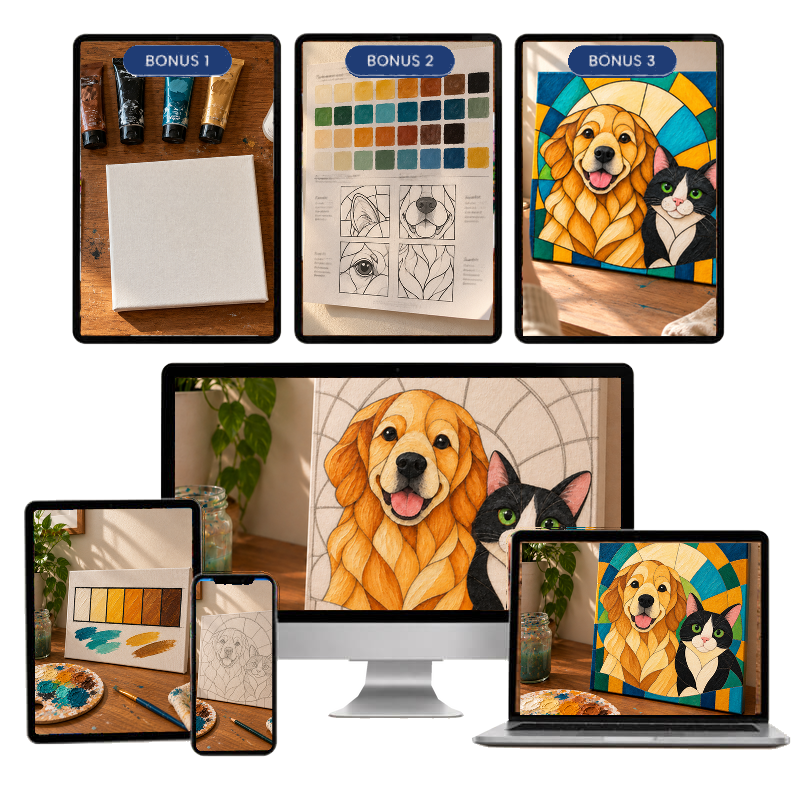
- Step-by-step video walkthrough
- Access on mobile, tablet, and computer
- At your own pace
- LIFETIME ACCESS
Here’s A Small Taste Of What’s Inside:
-
Module 1: Foundations. Your Palette, Your Panes, Your First Strokes.
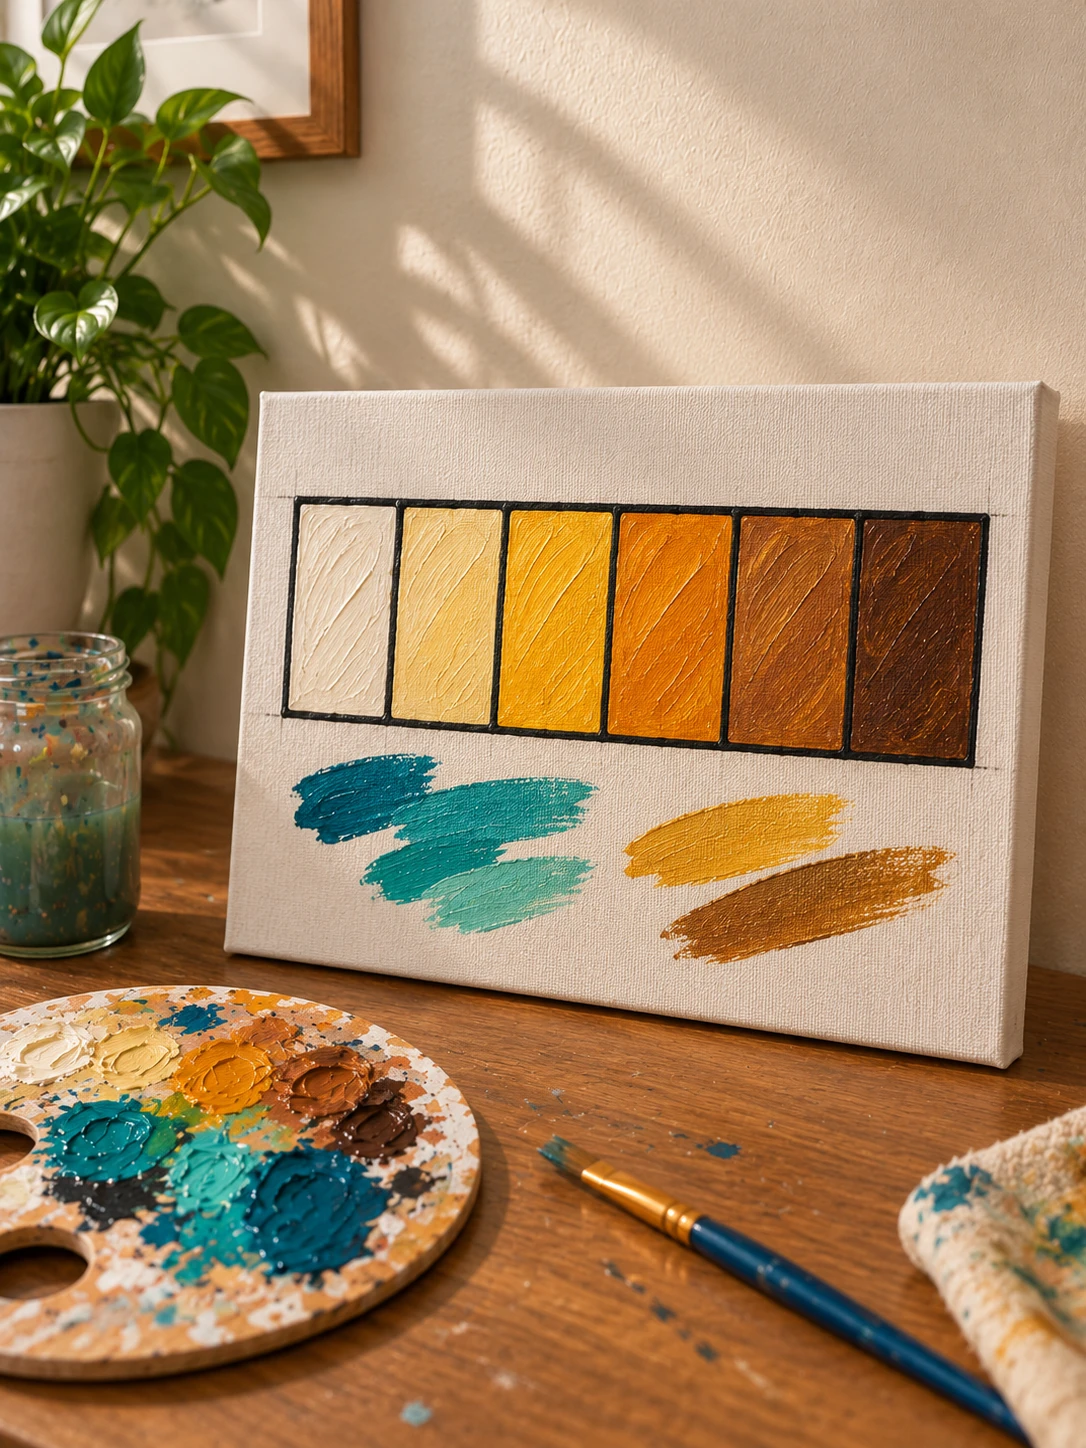
Your first canvas is not your pet. It's this.
Before your animal goes anywhere near a canvas, you'll build the one practice panel that teaches your hand everything it needs. Six flat panes, light to dark, bounded in black, plus a set of test strokes in the colours you'll use behind your pet.
- The five supplies that do 90% of the work, so you stop guessing in the craft shop aisle
- How to mix a six step value ladder from a single amber, which is the entire secret to fur that has depth
- Discover the flat pane stroke: the loading and laying habit that separates the stained glass look from blotchy acrylic
- Your first pass at painting a black lead line, on panes it does not matter if you ruin
- The background test strokes that tell you in two minutes which teals and golds will flatter your animal
-
Module 2: The Outline. Get Your Pet Onto The Canvas.
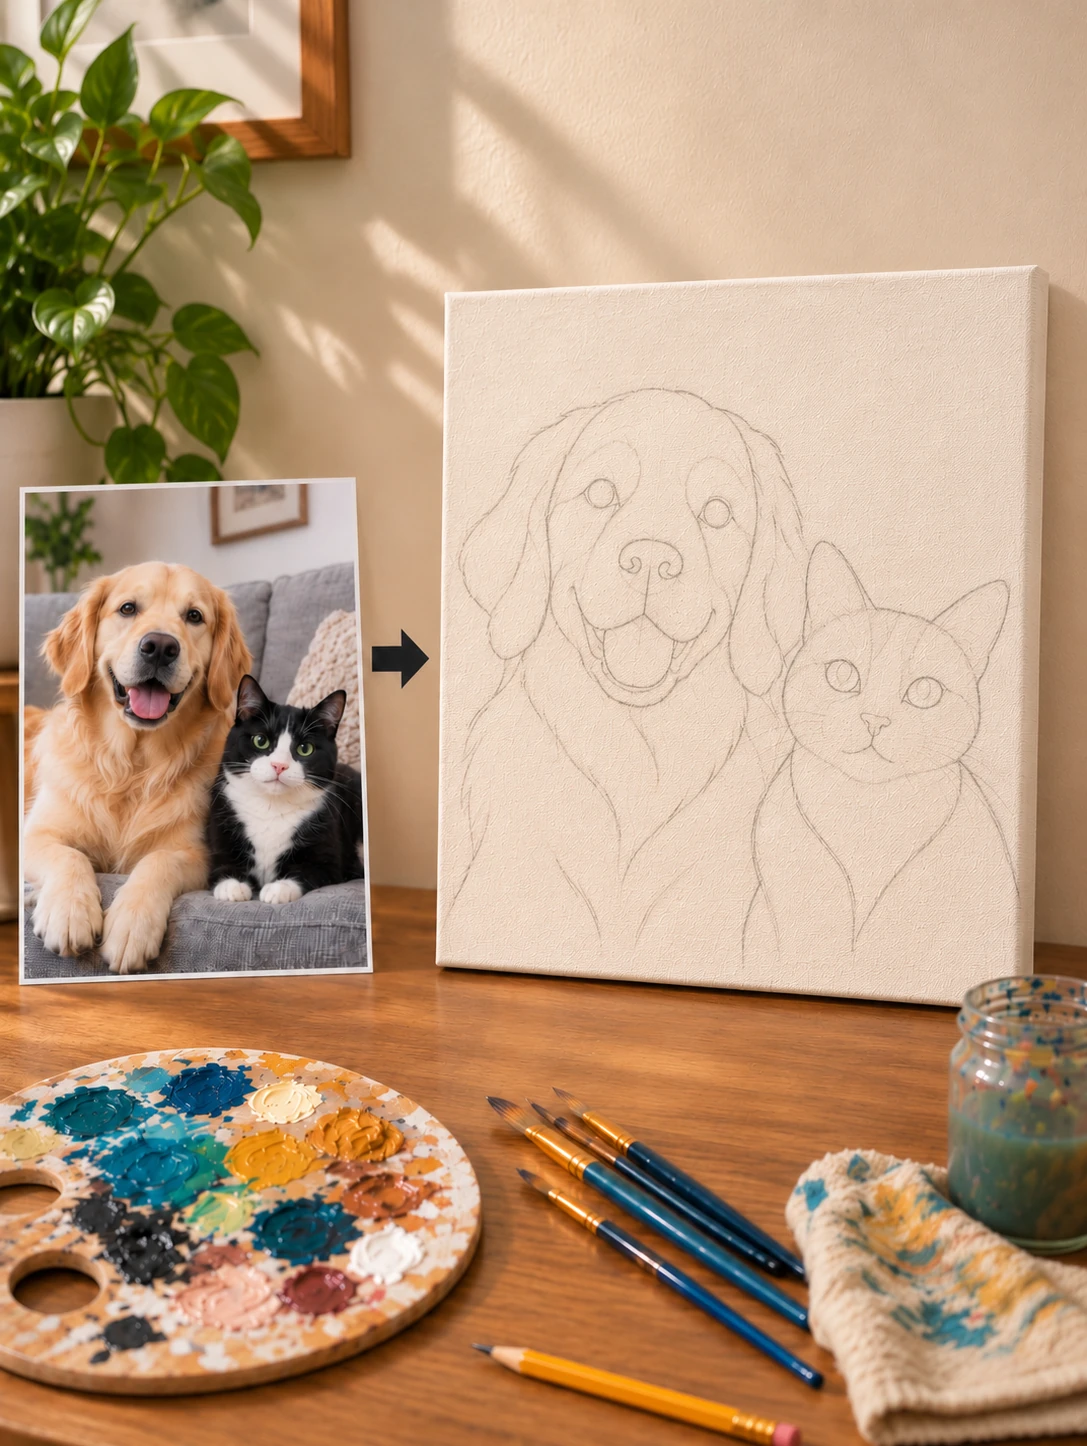
Photo on the left. Bare contour on the right. Nothing more.
This is the module that breaks the blank canvas. You'll learn to look at a messy, real life phone photo and pull out the handful of simple contours hiding inside it, then get them onto the canvas at the right size and in the right place.
- The squint test that instantly shows you which edges matter and which are noise
- How to break a face into eight shapes, with no drawing ability required
- A simplified three line grid for landing the eyes, nose and muzzle in the right place every time
- Learn how to size two animals together so neither one gets crowded off the canvas
- Why you should keep this stage ugly, and what happens to people who try to make it pretty
-
Module 3: The Refinement. Turn A Flat Outline Into Flowing Form.
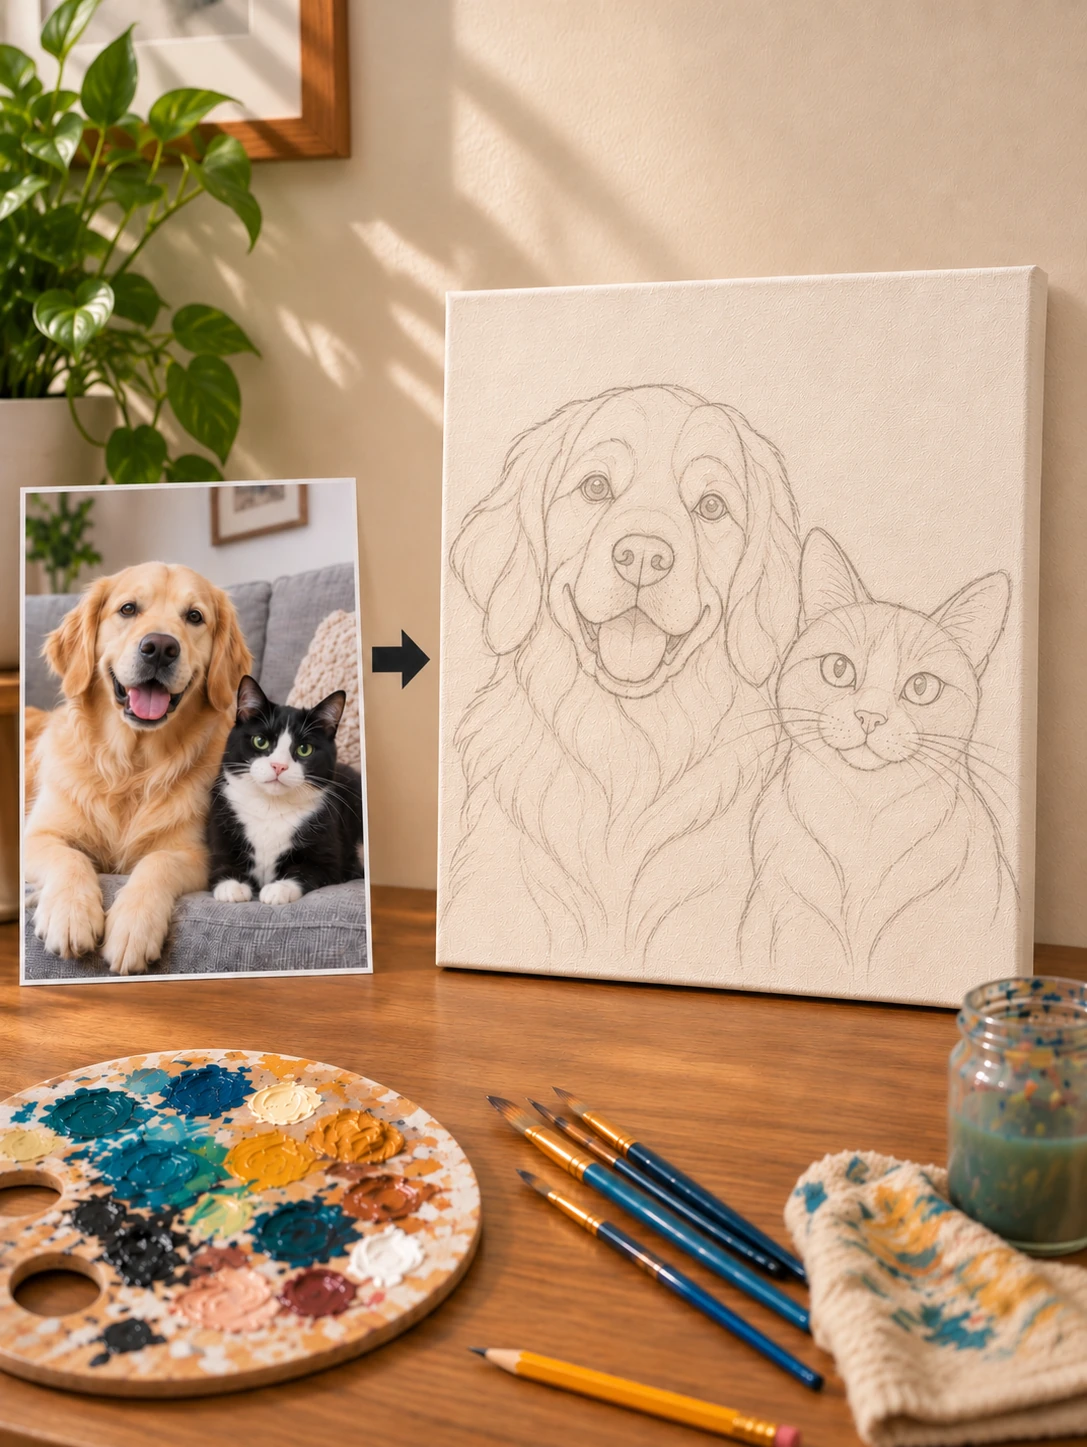
The same drawing, now with somewhere for every pane to go.
Your outline is correct but lifeless. Here you'll push it into something that actually flows, drawing the fur direction through the chest and ruff and refining the features until the drawing already looks like your animal in pencil alone.
- The directional flow lines that make a chest look like fur instead of a blob
- How to refine eyes, nose and mouth so the likeness lands before any colour exists
- Learn where whiskers go, and why you draw them now and paint them almost last
- The soft pencil pressure that keeps every one of these lines erasable
- You'll finish this module with a drawing good enough to stand on its own
-
Module 4: The Pencil Map. Halo, Border, And The Last Fine Details.
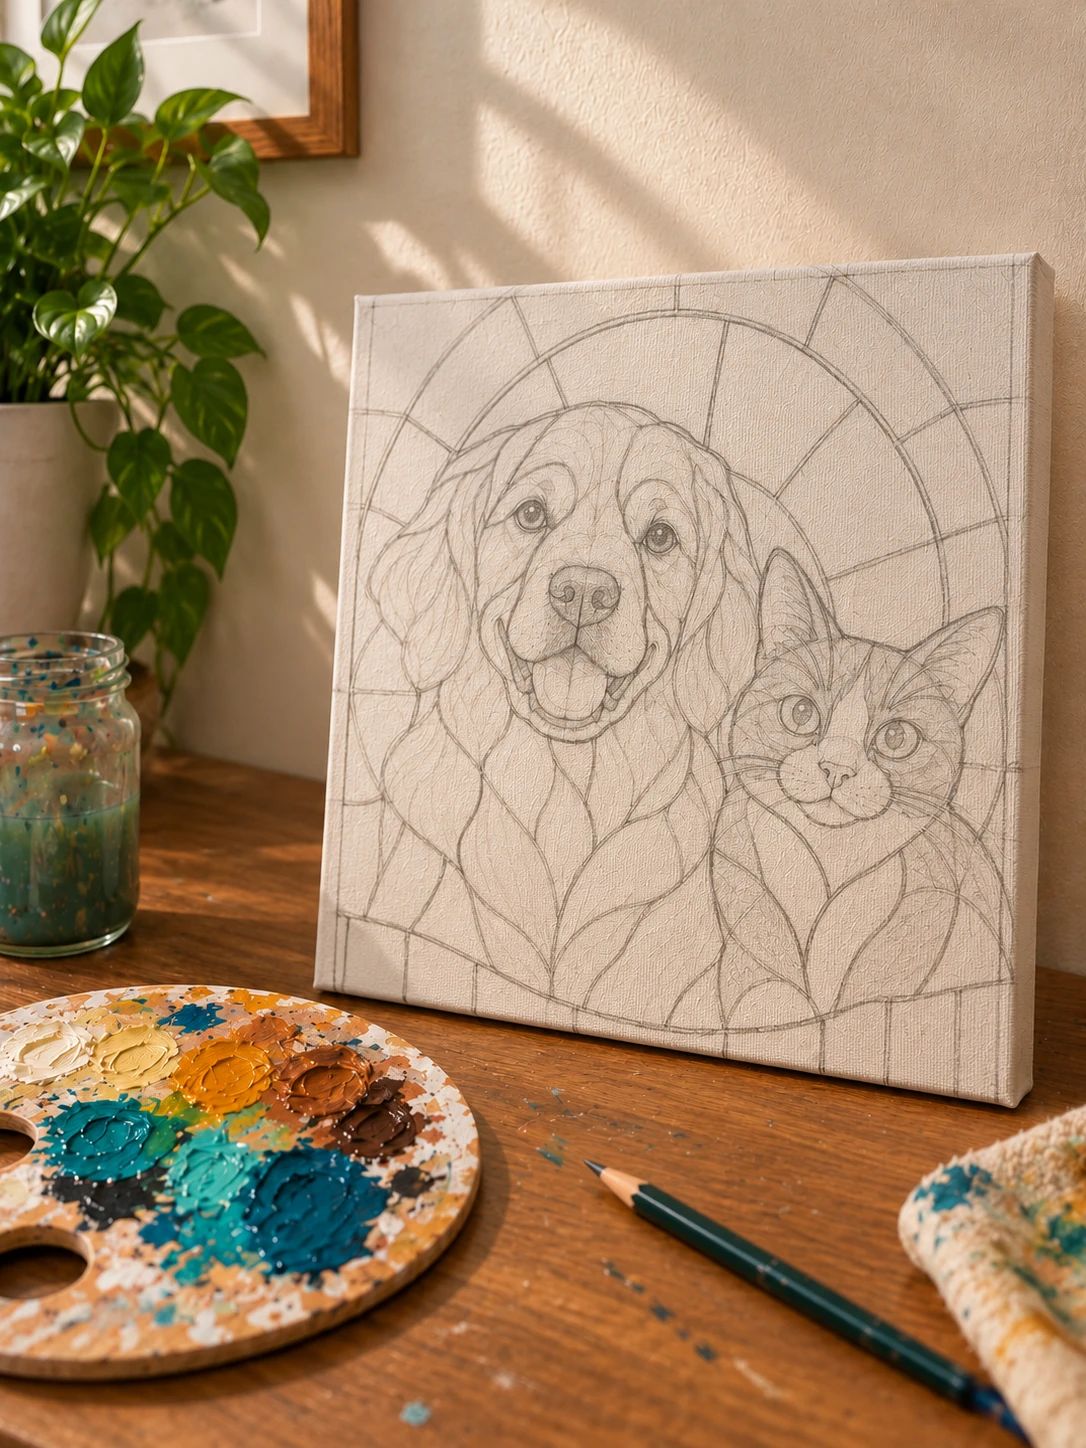
Still pencil. This is the module that turns a drawing into a stained glass style design.
Now you'll draft the glass effect itself, and all of it is still pencil. The radiating halo behind your pet, the mosaic border around all four edges, and the pane divisions that cut through the fur you drew in the last module. Then you'll go back into the animals one final time and add the small details that sell the likeness: whisker roots, the fine lines inside the ears, the catchlights in the eyes, the tiny shapes around the nose. By the end your entire painting is mapped out on the canvas and nothing is left to improvise.
- How to sketch the halo arc in pencil, the radiating ring that does most of the emotional work in the finished piece
- The border mosaic grid, and the spacing rule that keeps it framing your pet instead of competing
- Learn to divide panes along the fur flow so the pattern follows the animal rather than fighting it
- The final detail pass: whisker roots, inner ear lines, eye catchlights and the small shapes around the nose, all pencilled in now while they are still erasable
- A final map check before you paint, because every mistake is still free at this stage
-
Module 5: The Subject. Paint Your Pet First.
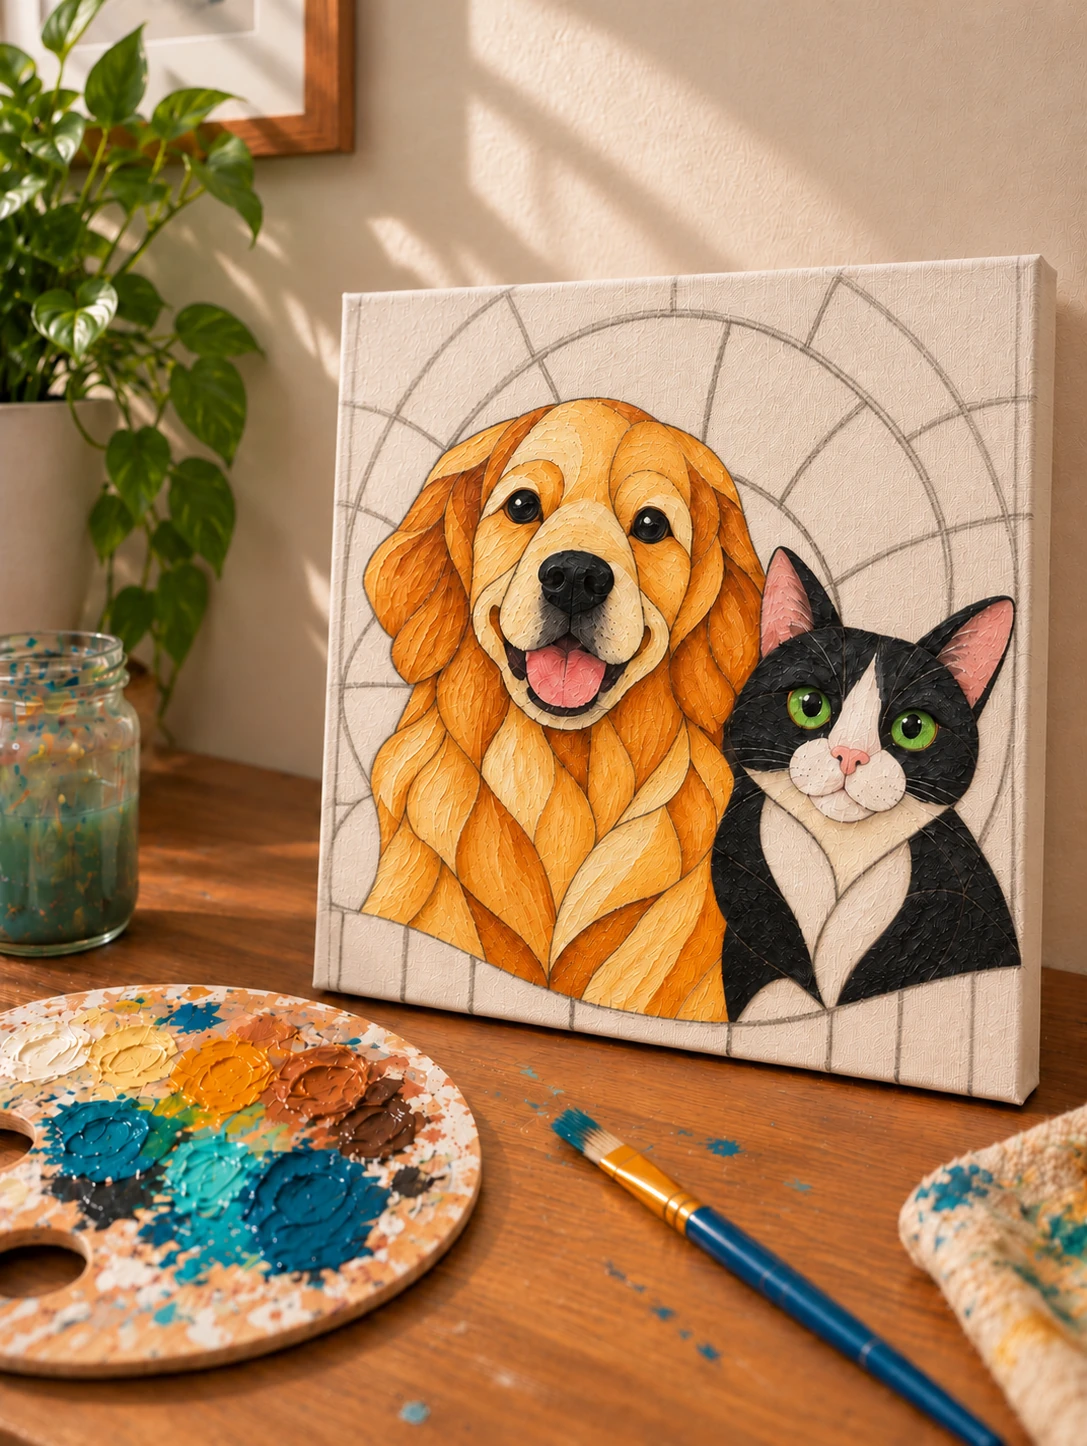
Pet finished. Background untouched. This order matters.
Paint opens here, and it goes onto your animal only. You'll fill every pane of the dog and the cat with flat colour while the background stays bare canvas, which is the single decision that stops beginners muddying their subject.
- Why painting the subject first protects your likeness, and what goes wrong when you do it the other way round
- The warm core, cool edge rule behind every pane that looks lit from behind
- How to paint a black coat that reads as glossy fur instead of a hole in the canvas
- Discover the four layer eye, built in order, with the single white highlight that brings it alive
- How to keep each pane one flat colour and still get depth across the whole animal
-
Module 6: The Background. Build The Mosaic That Makes It Glow.
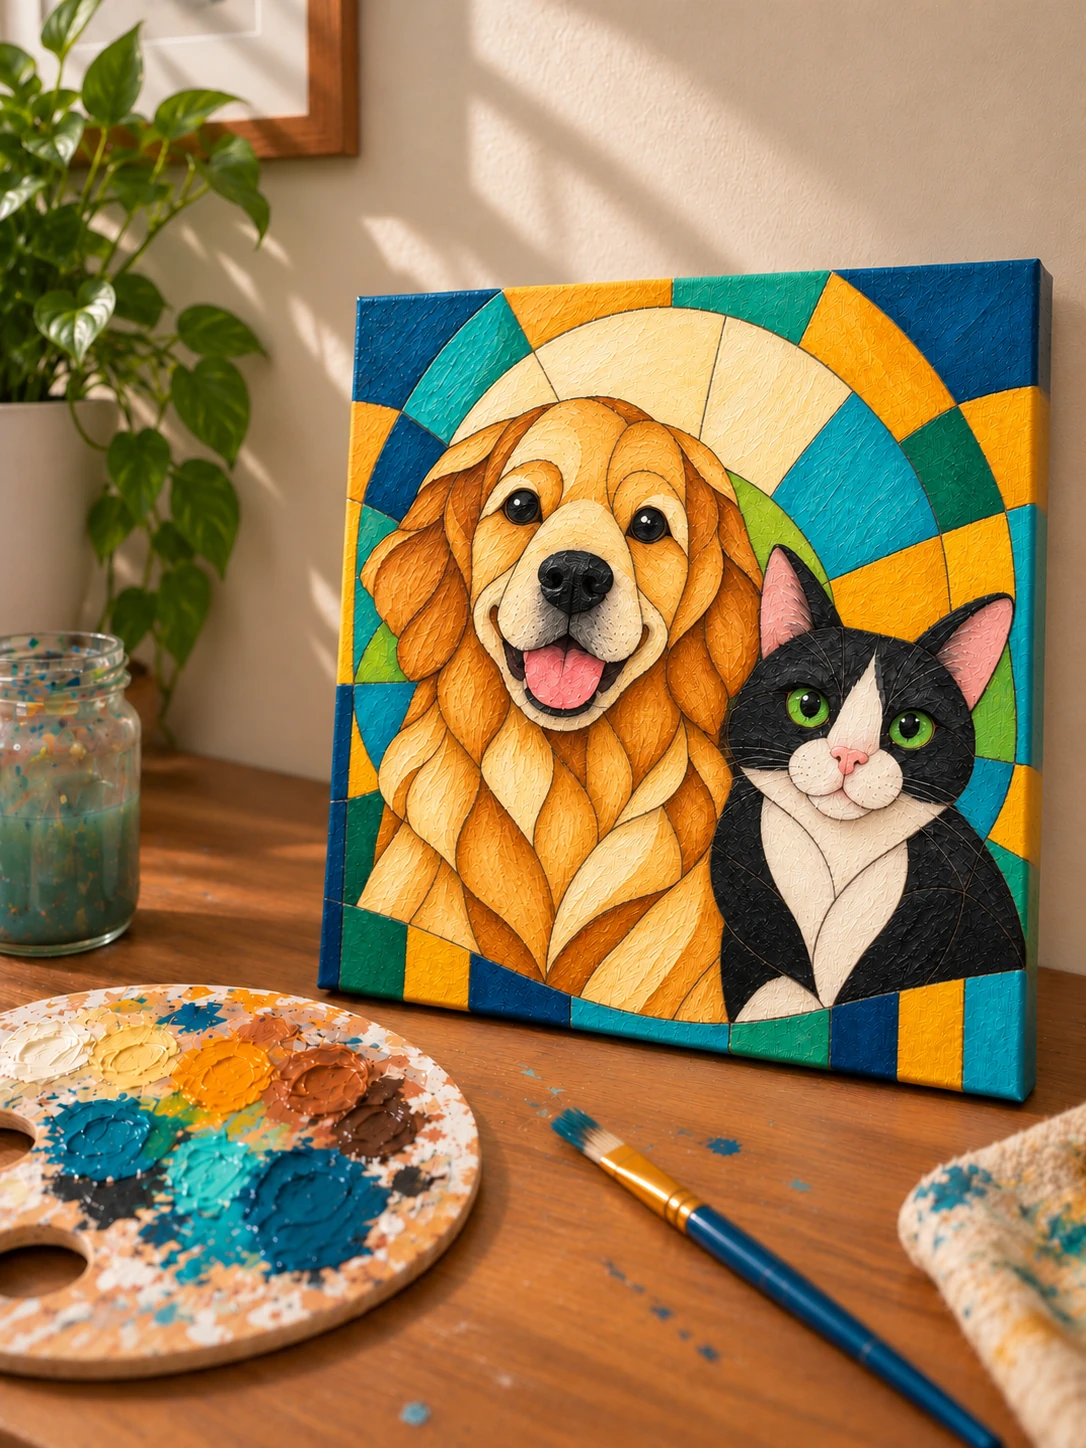
The same canvas, lit up.
With your pet locked in, the background becomes easy and genuinely fun. You'll fill the halo and the mosaic with the teals, blues and golds you tested back in Module 1, and watch the whole piece suddenly switch on.
- The three background palettes that flatter any coat colour, including the difficult ones
- How to grade the halo from bright at the centre to deep at the edge, without blending
- Learn the colour scatter rule that keeps a mosaic from looking like a checkerboard
- Where to put your darkest panes so your animal pushes forward off the canvas
- How to carry colour into the canvas edges, so it looks finished from the side on a wall
-
Module 7: The Outlines. Final Black Lines And Seal.
Done. Signed off. Ready to hang.
The last module is the one that pulls the whole painting together into a convincing stained glass look. Your colour and texture are already done, so this is pure line work: every pane gets its painted black outline, and then the whole surface gets sealed so the colour deepens and stays put.
- How to pull a clean black line freehand, with the simple brace that steadies your hand
- The line weight rule: thicker on the outside, finer within, and why that makes flat paint read as leaded glass
- The wobble fix: how to straighten a crooked pane edge with the black line instead of repainting it
- You’ll learn exactly when to stop, the hardest judgment call in the whole piece
- The two coat seal that protects the surface and deepens every colour underneath
Why you’ll be paying less for this course
The honest answer is that this is a beta launch.
The full price for this course is $97, and I think that’s fair for what’s in it. Seven modules, every stage filmed, a complete portrait from blank canvas to sealed finish.
But right now I’d rather have a small group of students who actually finish a painting than a large group who bought something at full price and never opened it. I’m limiting spots, I’m reading every email, and I want to see what people actually get stuck on so I can fix it.
If it works, and students are finishing portraits they’re proud of, the price goes to $97 and stays there. If it doesn’t work, this page comes down and I go back and rebuild it.
Either way, this price isn’t going to be here for long. So for now: $47.
Originally: $97
Now Only
$47
One-time payment. Lifetime access forever.
Unlock Lifetime Access Now
You’ll be inside the studio in under 60 seconds, with Module 1 open and your supply list ready.
P.S. If the next page doesn’t load... then you’re too late.
Checkout link coming soon.
Plus You’ll Be Backed By My Unconditional Money Back Guarantee
You don’t have to decide right now.
Get access, watch the modules, paint a practice panel, see how it feels in your hands. Take 30 full days to do it.
If it’s not for you, for any reason at all, send one email to hello@glasswingstudio.com and you’ll get every penny back within 24 hours. No questions asked. No forms. No stalling. No “well, did you try Module 3?”
“You either love what you create... or you don’t pay for it.”
And to help you go even further...
The thing that stops most people isn’t the painting. It’s the forty minutes of standing in a shop not knowing what to buy, or the moment you finish and have no idea how to photograph it without the glare ruining everything.
So I’ve included a few extra resources to make sure you actually start, and then keep going.
Get 3 FREE Bonuses If You Join Now
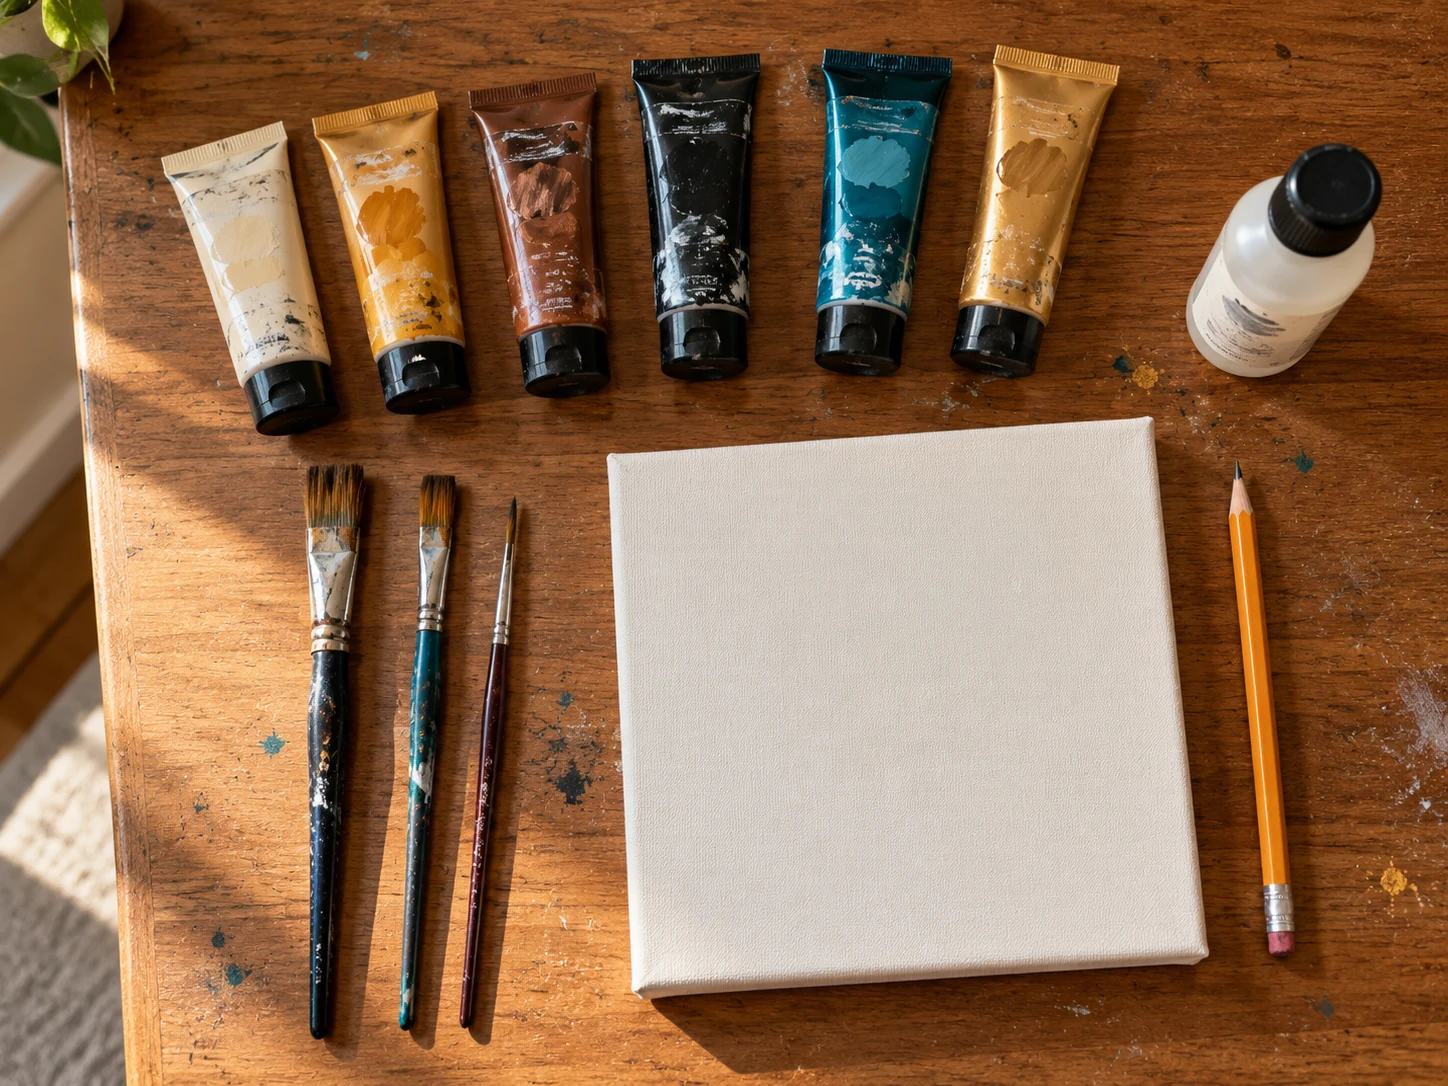
Bonus #1: The Exact Supply List
The craft shop is designed to confuse you. There are forty blacks and they are not the same black, and the wrong one will flatten your whole piece.
This is the exact list of what to buy, with brand names, sizes and roughly what it costs, plus the cheaper swap for every single item.
- Every item named and linked, so you can order it in five minutes
- The one black that stays rich instead of going grey when it dries
- Which three brushes do everything, and the sizes that actually matter
- A under $40 starter version of the whole kit, for trying this before committing
Value:
$14→ Your price: FREE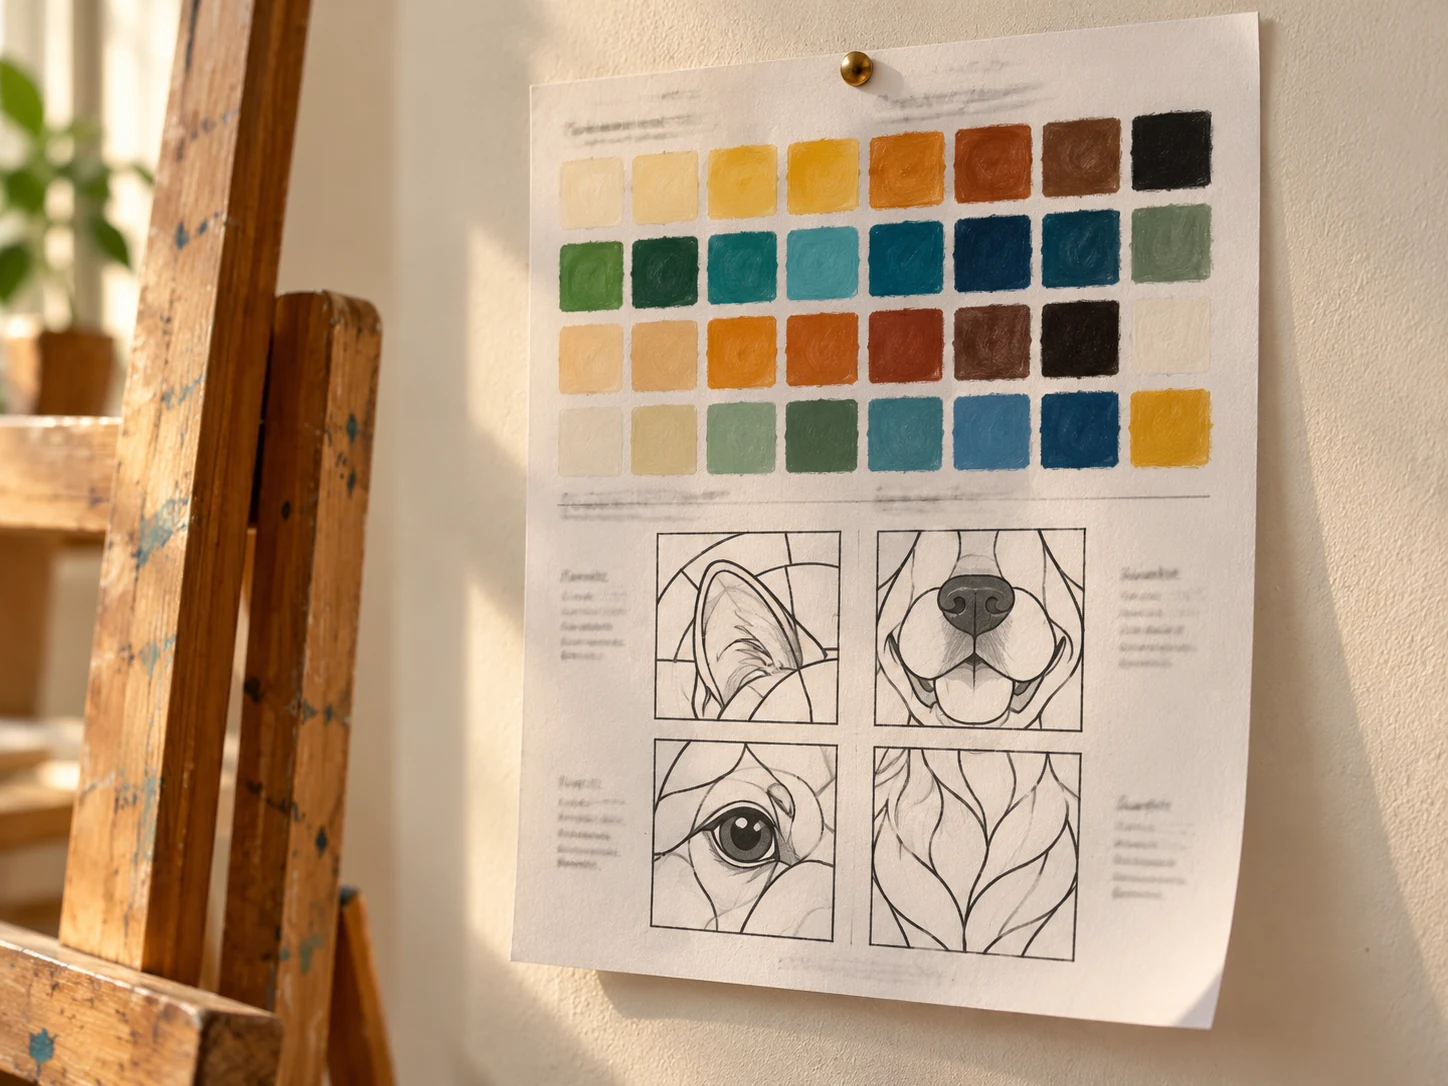
Bonus #2: The Glass Palette & Lead Line Pack
Two of the hardest decisions get made for you. What colours suit your specific animal, and what the lead lines should do around them.
You’ll come back to this sheet every single time you start a new portrait.
- Twelve tested palettes, sorted by coat colour: golden, black, tabby, tuxedo, ginger, white
- Lead line pattern templates for ears, muzzle, chest and eyes
- The background colour chart: which halo and mosaic colours make each coat sing
- Print it, pin it above your workspace, stop second guessing
Value:
$19→ Your price: FREE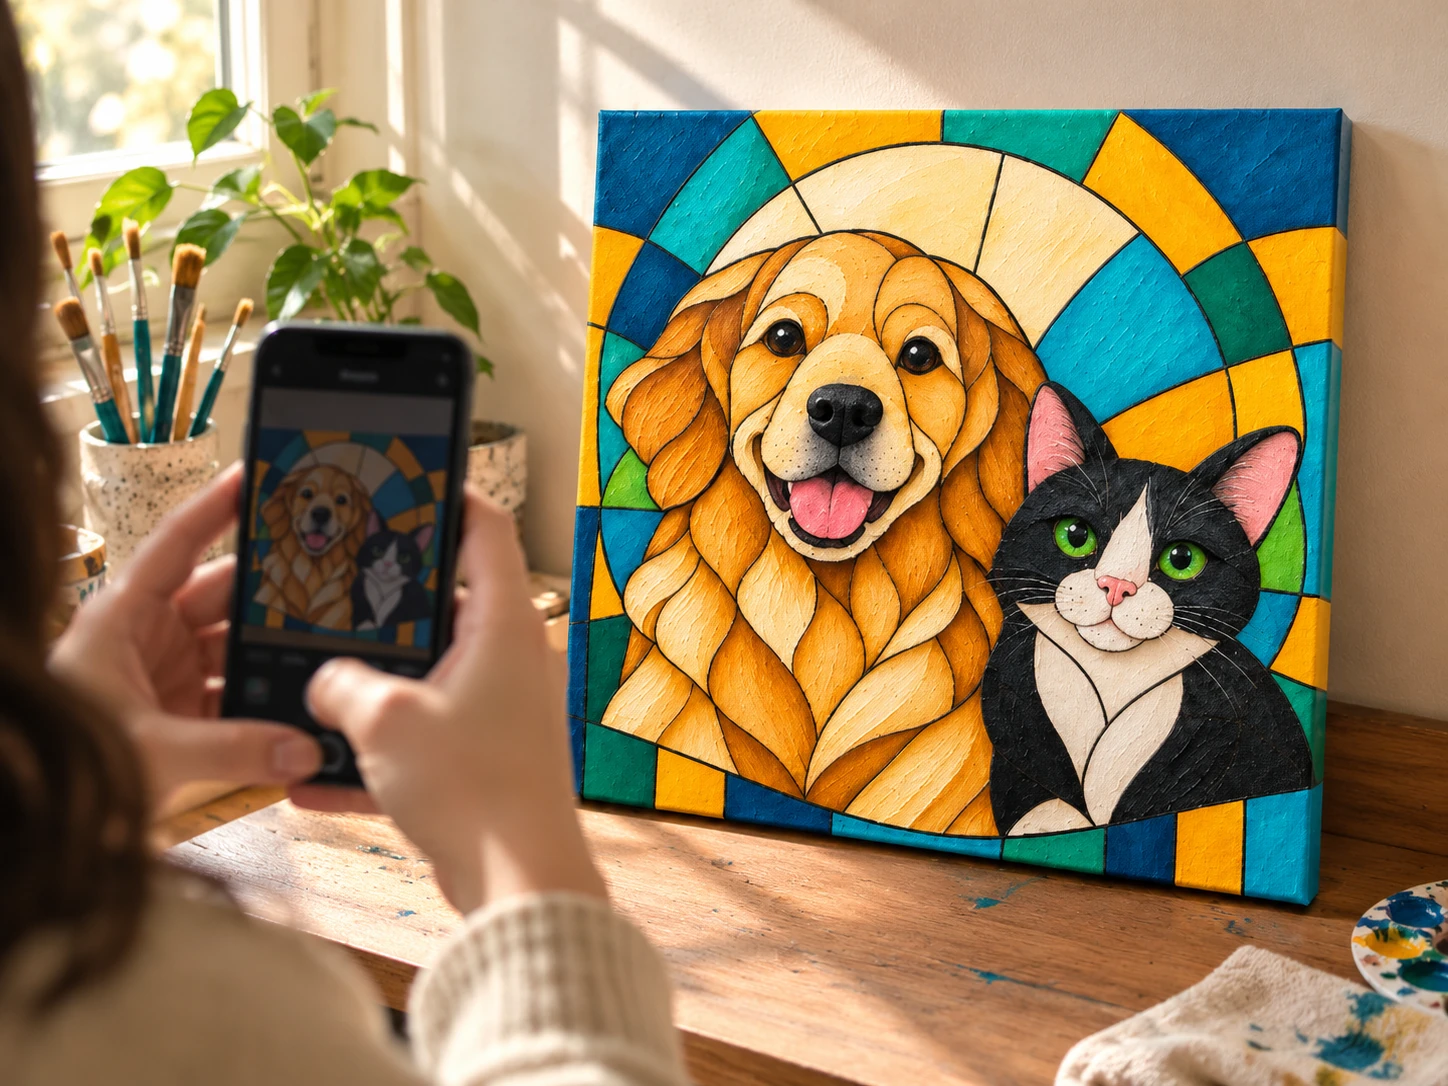
Bonus #3: Shoot It, Hang It, Show It Off
You’ve just spent hours on something beautiful and then your photo of it looks terrible. Glare, grey colours, wonky angles. It happens to everyone.
Here’s how to photograph a sealed canvas so it looks as good on a screen as it does on the wall.
- The window and angle setup that kills glare without any equipment
- How to correct the colour on your phone in about thirty seconds
- The three hanging heights that make a square canvas look intentional
- A simple way to photograph the before and after together, exactly like the image at the top of this page
Value:
$12→ Your price: FREE
Here’s Everything You’re Getting So Far:
- The Stained Glass Pet Portrait Studio (value: $97)
- Module 1: Foundations. Your Palette, Your Panes, Your First Strokes.
- Module 2: The Outline. Get Your Pet Onto The Canvas.
- Module 3: The Refinement. Turn A Flat Outline Into Flowing Form.
- Module 4: The Pencil Map. Halo, Border, And The Last Fine Details.
- Module 5: The Subject. Paint Your Pet First.
- Module 6: The Background. Build The Mosaic That Makes It Glow.
- Module 7: The Outlines. Final Black Lines And Seal.
Plus These Bonuses:
- Bonus #1: The Exact Supply List (value: $14)
- Bonus #2: The Glass Palette & Lead Line Pack (value: $19)
- Bonus #3: Shoot It, Hang It, Show It Off (value: $12)
Total Value: $142
But now you get everything for just: $47
Originally: $97
Now Only
$47
One-time payment. Lifetime access forever.
Unlock Lifetime Access NowYou’ll be inside the studio in under 60 seconds, with Module 1 open and your supply list ready.
P.S. If the next page doesn’t load... then you’re too late.
Checkout link coming soon.
But why stop here?...
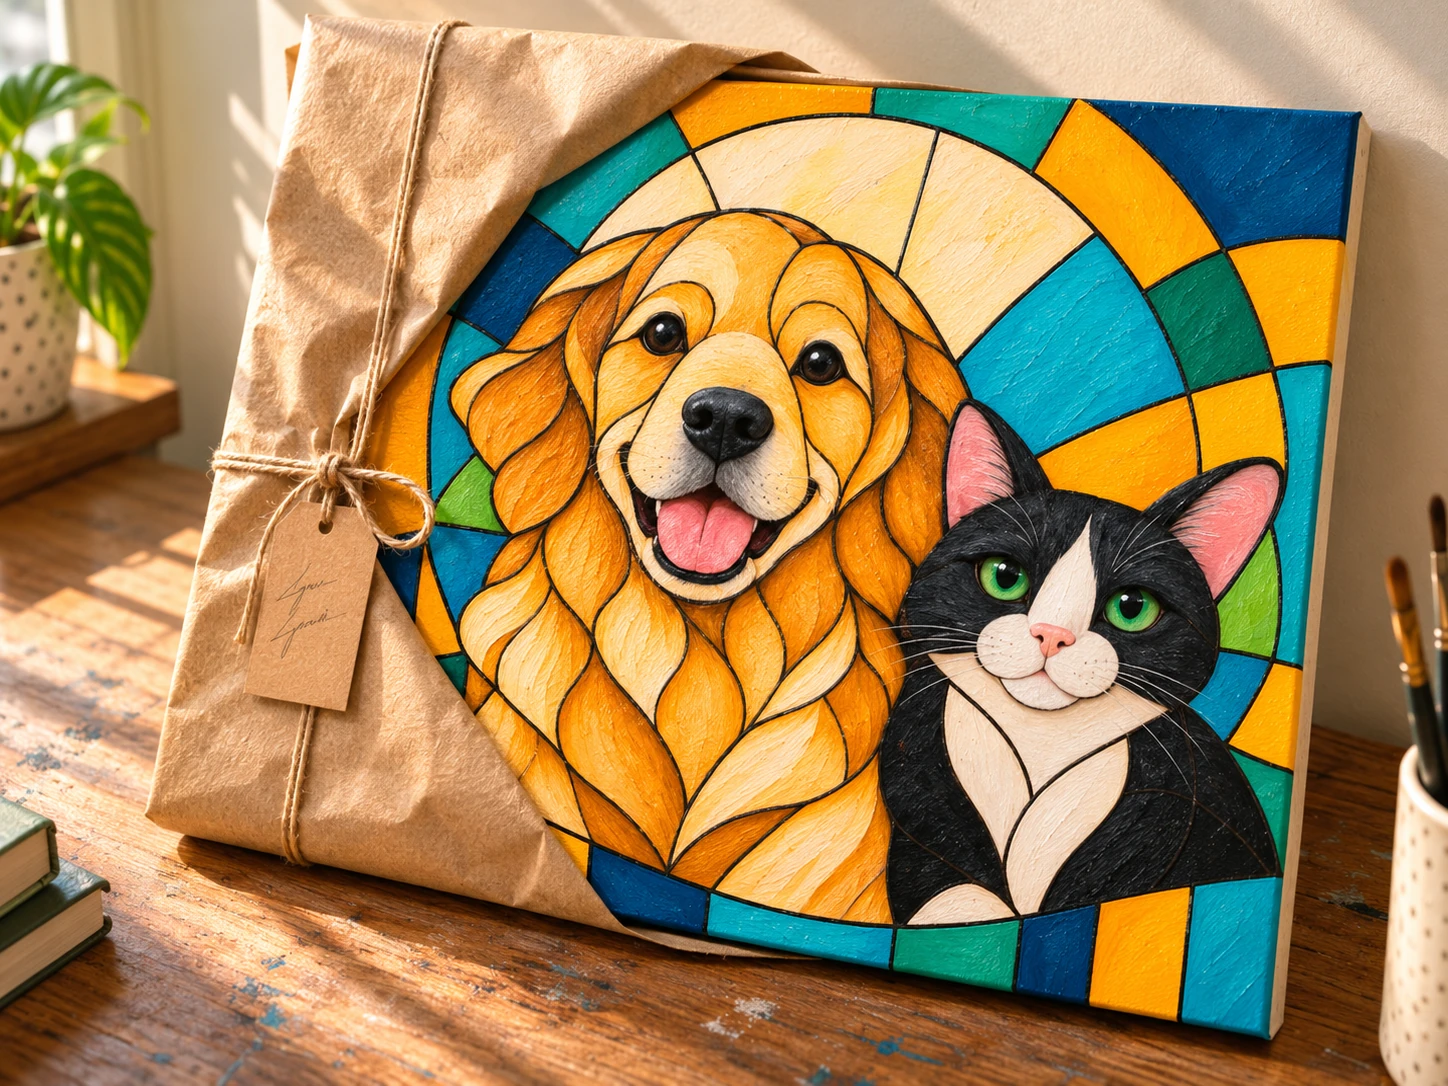
Limited-Time Bonus: Your First Five Commissions
Here’s what happens to almost everyone who finishes their first portrait. They hang it up, someone sees it, and that person says: “could you do one of mine?”
And then you freeze. Because you have no idea what to charge, how to ask for the photo, or what to do if they hate it. Almost nobody teaches this part, so most people either say yes for free forever or quietly stop offering.
This is the short, practical guide to handling that moment well. How to price without apologising, how to get a usable photo out of someone, and how to deliver a piece that makes them want to tell their friends.
- How to price your first piece, and the one thing never to do in that first conversation
- The photo request message you send, word for word, so you get something you can actually paint from
- How to handle revisions before they happen, with one simple sentence up front
- The packaging and handover that turns a commission into three more
Value: $27 → FREE
Your 45-minute bonus window.
P.S. This bonus is only available if you enrol before the timer ends. After that, it’s gone.
(No promise of income here. This is how to handle the ask, not a business plan.)
Total Value: $169
Now Only
$47
One-time payment. Lifetime access forever.
Unlock Lifetime Access NowSeven modules, four bonuses, and a finished portrait of your own animal on your wall.
P.S. If the next page doesn’t load... then you’re too late.
Checkout link coming soon.
Got more questions? I got you:
Need help? hello@glasswingstudio.com
Do I need any painting experience?
None at all. This style is built from flat shapes and hard black lines, which means there’s no blending and no delicate brushwork to get wrong. Module 1 starts with how to hold the brush.
How much time does this take?
The videos run around three hours total. Most students finish their first portrait across two or three relaxed weekends. There’s no schedule and nothing expires.
What materials do I need?
A canvas, six acrylic paints, three brushes, a pencil and a sealer. Bonus #1 is the exact list with brands and prices, including a starter version for under $40.
How long do I have access?
Forever. LIFETIME ACCESS, including anything I add later. Watch it on your phone at the easel, or on a laptop. It’s yours.
What’s the refund policy?
30 days, unconditional. One email to hello@glasswingstudio.com and you get everything back within 24 hours. You don’t have to explain why.
Is this a one-time payment?
Yes. $47 once. No subscription, no upsell required, no second charge ever.
My photo of my pet isn’t great. Will it still work?
Almost certainly. You need to be able to see the eyes and the shape of the head, and that’s genuinely it. Module 2 is entirely about throwing detail away, so a slightly blurry phone snap is often easier to work from than a crisp studio shot. All black and all white animals get their own palettes in Bonus #2.
If you’ve read this far, you’re likely ready. Let’s go.
Here’s Everything You’re Getting Now For Just $47:
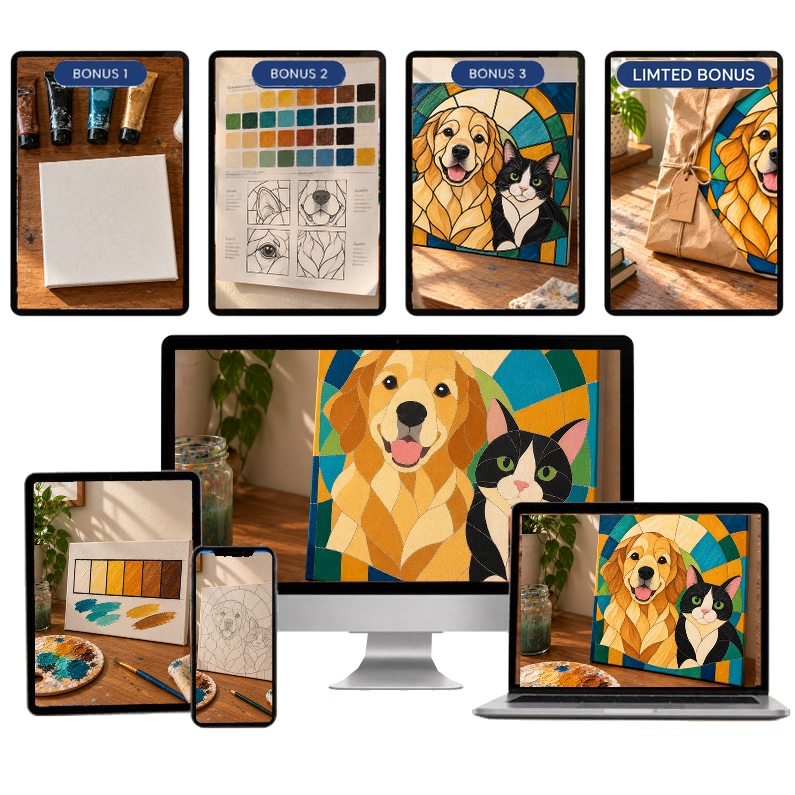
- The Stained Glass Pet Portrait Studio (value: $97)
- Module 1: Foundations. Your Palette, Your Panes, Your First Strokes.
- Module 2: The Outline. Get Your Pet Onto The Canvas.
- Module 3: The Refinement. Turn A Flat Outline Into Flowing Form.
- Module 4: The Pencil Map. Halo, Border, And The Last Fine Details.
- Module 5: The Subject. Paint Your Pet First.
- Module 6: The Background. Build The Mosaic That Makes It Glow.
- Module 7: The Outlines. Final Black Lines And Seal.
- Bonus #1: The Exact Supply List (value: $14)
- Bonus #2: The Glass Palette & Lead Line Pack (value: $19)
- Bonus #3: Shoot It, Hang It, Show It Off (value: $12)
- Limited-Time Bonus: Your First Five Commissions (value: $27)
Total Value: $169
Total Value: $169
Now Only
$47
One-time payment. Lifetime access forever.
Unlock Lifetime Access NowSeven modules, four bonuses, and a finished portrait of your own animal on your wall.
P.S. If the next page doesn’t load... then you’re too late.
Checkout link coming soon.